Quickstart Guide
This guide will explain first steps to get the ip.labs Mobile SDK up and running in your app. You can find more details about different features and how to integrate them into your app in the following guides.
Prerequisites
We presume, that you have a few things already in place at this stage:
- A iOS app that you want to integrate the SDK into.
- Your app targets iOS 14 or higher.
- Your codebase consists of native Swift code.
- Development is taking place in the latest stable Xcode version
Adding the Swift Package
You can use the iOS version of the SDK by adding the Swift package to your app project:
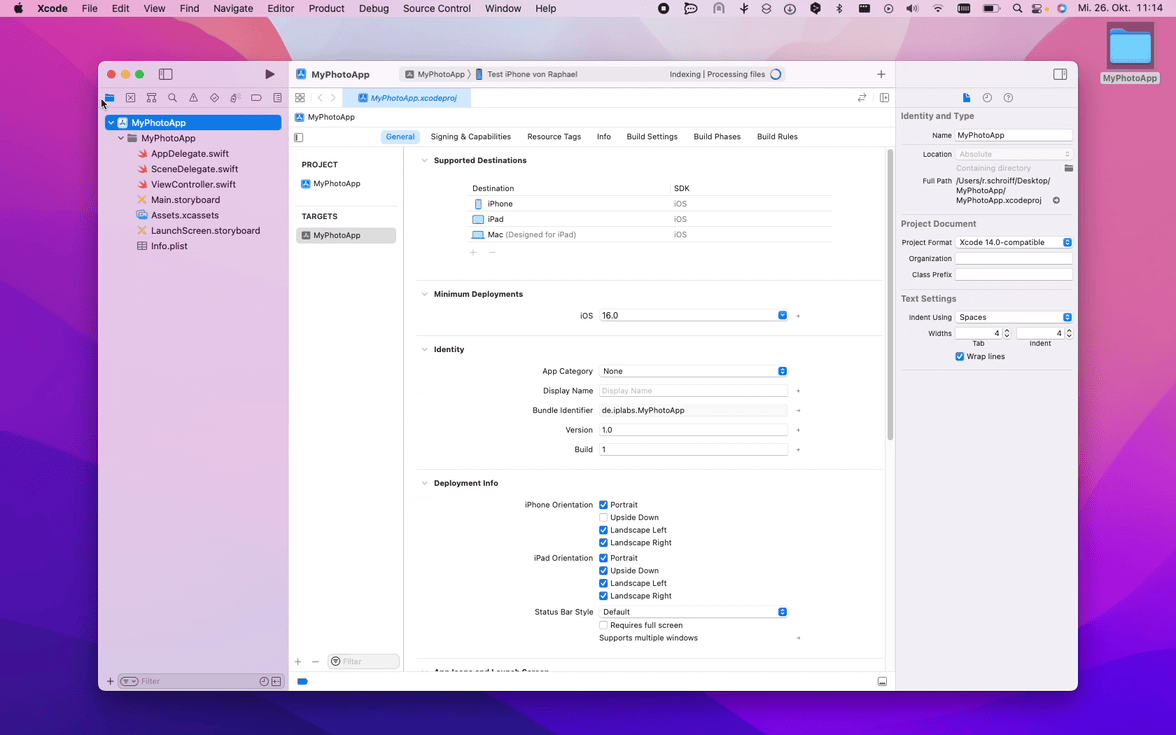
- Open the packages dialog in Xcode by choosing “File” → “Add Packages…” from the menu:
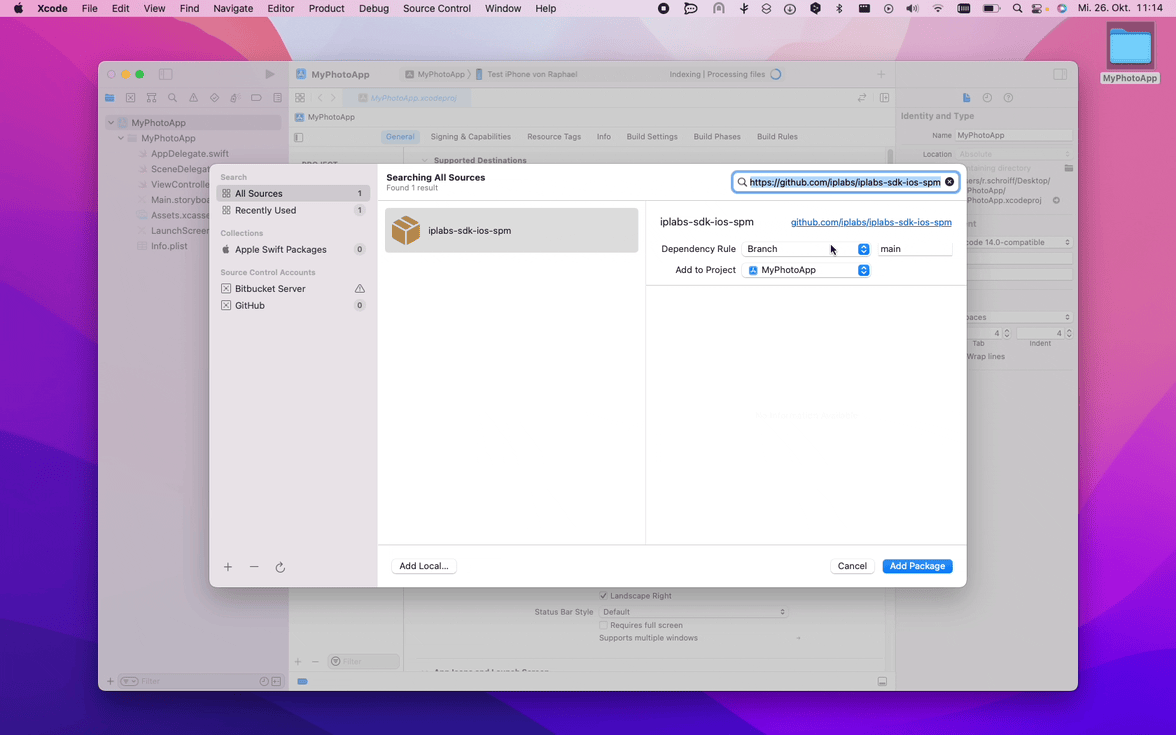
- In the text field at the top right of the dialog enter the package URL for the ip.labs Mobile SDK (https://github.com/iplabs/mobile-sdk-ios-spm):

- Optionally adjust your preferences for Dependency Rule and click “Add Package”:
- After the package was downloaded, add the
IplabsSdklibrary to your project by clicking “Add Package” again: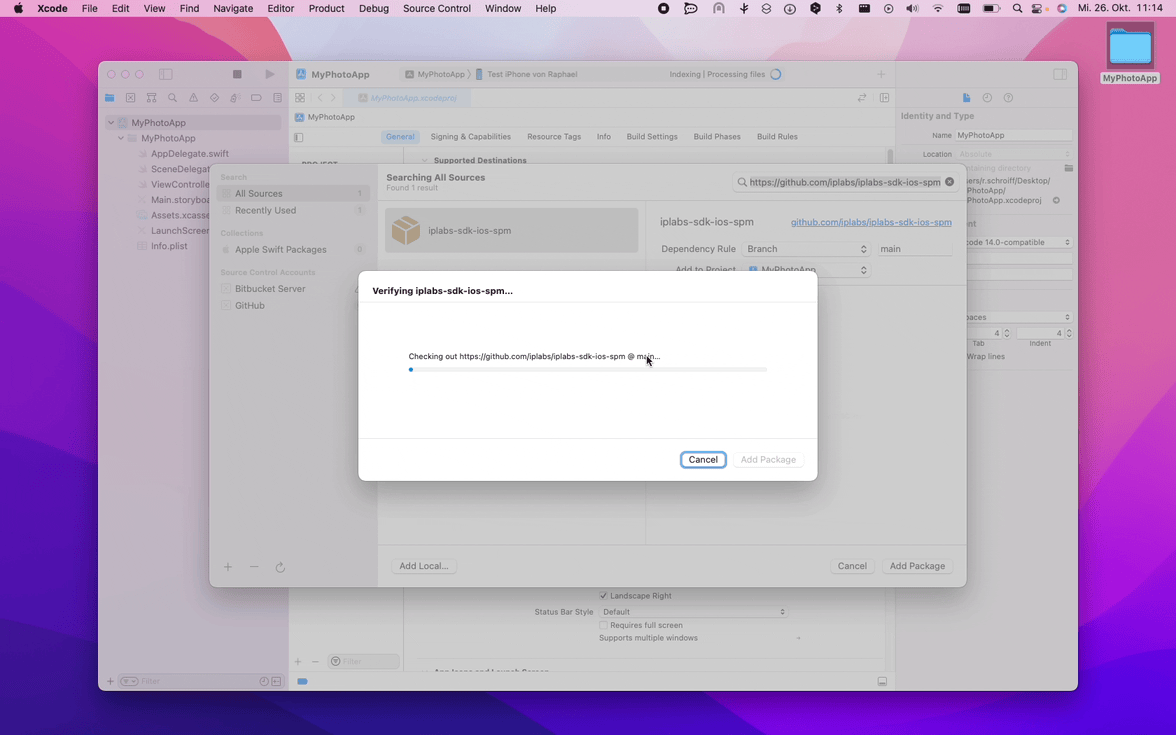
Initialize the SDK
To start working with the SDK, it must be initialized with some configuration parameters. The most important parameters are operatorId and baseUrl. The operator is the central identifier in the ip.labs infrastructure, which a lot of configuration and content is tied to (for example the product portfolio). The baseUrl is the backend endpoint which is used for connecting to the ip.labs infrastructure.
To just play around with the SDK, you can use the values in the example below, which refer to a demo instance. You should use your own operatorId, baseUrl, locale, and externalCartServiceBaseUrl as soon as you got them from our customer support to actually use your product portfolio and server side integrations. Please note, that there are also the optional translationsSource, localProjectsLocation, and userTrackingPermission parameters.
The translationsSource parameter can optionally receive a reference to a file containing localized strings. Please see the translation docs for details.
The localProjectsLocation parameter defines the local URL to save local projects. If this is not set projects will be saved in the folder “iplabs/projects” inside “applicationSupportDirectory”.
The userTrackingPermission is used to control the availability of user tracking data. Please see the user analytics docs for details.
It is recommended to initialize the SDK during startup of the app (e.g. in the didFinishLaunchingWithOptions of the app delegate). Internet connection is not required for initialization.
Don’t forget to import IplabsSdk on top of files in which you are accessing the ip.labs Mobile SDK.
func application(
    _ application: UIApplication,
    didFinishLaunchingWithOptions launchOptions: [UIApplication.LaunchOptionsKey: Any]?
) -> Bool {
    // Initialize ip.labs Mobile SDK. Call only once or an error will be thrown
    _ = try! IplabsMobileSdk(
        operatorId: 97000040,
        locale: "en_GB",
        baseUrl: "https://shared1-staging.iplabs.io/97000040/",
        externalCartServiceBaseUrl: "https://external-cart.staging.eu-central-1.iplabs.io"
    )

    return true
}
You don’t need to save the instance of IplabsMobileSdk because after first initialization the singleton instance is accessible on the static IplabsMobileSdk.shared property. Also make sure to only initialize the SDK once, otherwise an error is thrown.
Starting the Editor
To actually see a photo product editor in action, you have to initialize it first with a ProductConfiguration, consisting of the id of a product and a set of options, further specifying the product’s variant. You can retrieve these values from your Portfolio, see the guide for integration in your app. As a simple example we will just use a fixed product ID from our demo operator and an empty set of options. There are more parameters to customize the editor’s feature set as well as its look and feel, both of which are optional.
The initializeEditor method of the IplabsMobileSdk singleton returns a ViewController for the editor view, which can be used to add the editor as a sub-view or to present it fullscreen from another view controller:
let editorViewController = IplabsMobileSdk.shared.initializeEditor(
    productConfiguration: ProductConfiguration(
        id: 60001206,
        options: [:]
    )
)

editorViewController.modalPresentationStyle = .fullScreen

self.present(editorViewController, animated: true)
Reacting to Events in the Editor
To provide a seamless experience between your app and our SDK, it is necessary to react to events which are initiated from the editor, e.g. when the user needs to be authenticated or taps the button for loading projects. This is realized with the EditorViewDelegate and the AuthenticationDelegate:
extension MyAuthenticationService: AuthenticationDelegate {
    public func authenticationFailed(reason: AuthenticationError) {
        // Handle authentication errors here…
    }

    public func requestSessionId(
        authenticateCallback: @escaping (String) -> Void,
        cancelAuthenticationCallback: @escaping () -> Void
    ) {
        // Authenticate the user here…
    }
}

extension MyViewController: EditorViewDelegate {
    func transferCartProject(cartProject: CartProject) {
        // Go to cart here…
    }

    func handleLoadProjectTapped() {
        // List the user’s saved projects here…
    }

    func editCartProjectFailed(reason: CartProjectEditingError) {
        // Handle errors during editing a project from cart here…
    }
}
Once you have implemented these delegates, you can set instances of them after creating the EditorViewController:
editorViewController.editorViewDelegate = self
editorViewController.authenticationDelegate = MyAuthenticationService()

self.present(editorViewController, animated: true)
With these simple steps you can start the editor and get an overview of its features. The following guides will demonstrate how to properly integrate it into your product presentation, checkout, and user management solutions.